Updated on 29 Jan, 2024
This document help to configure site-to-site tunnel between UTunnel Server and Cisco ASA. Make sure that you have administrator access to Cisco ASA and UTunnel dashboard before you proceed.
1. Login to dashboard.utunnel.io and go to Site-to-Site tab.
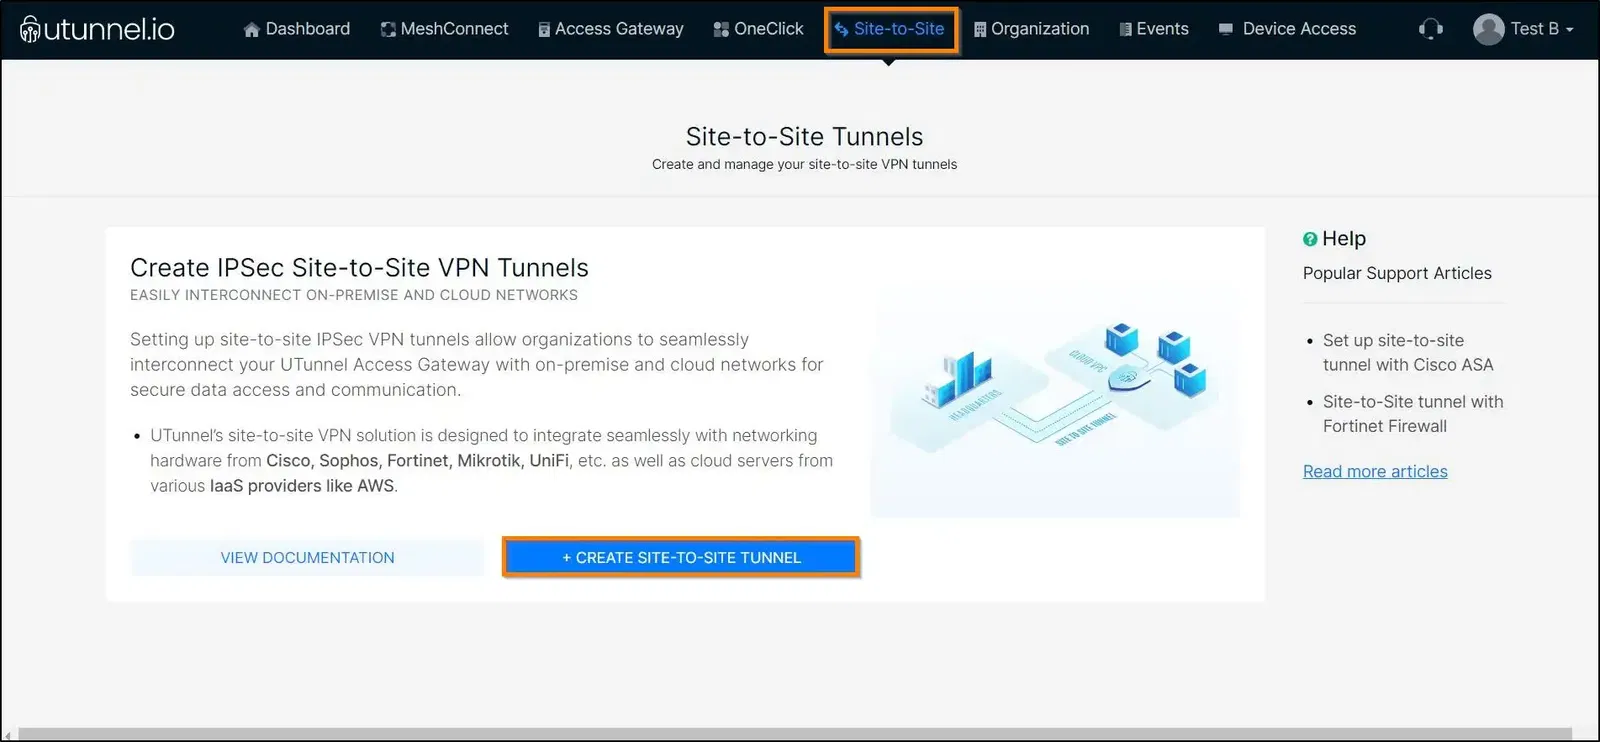
2. Click on CREATE TUNNEL button.
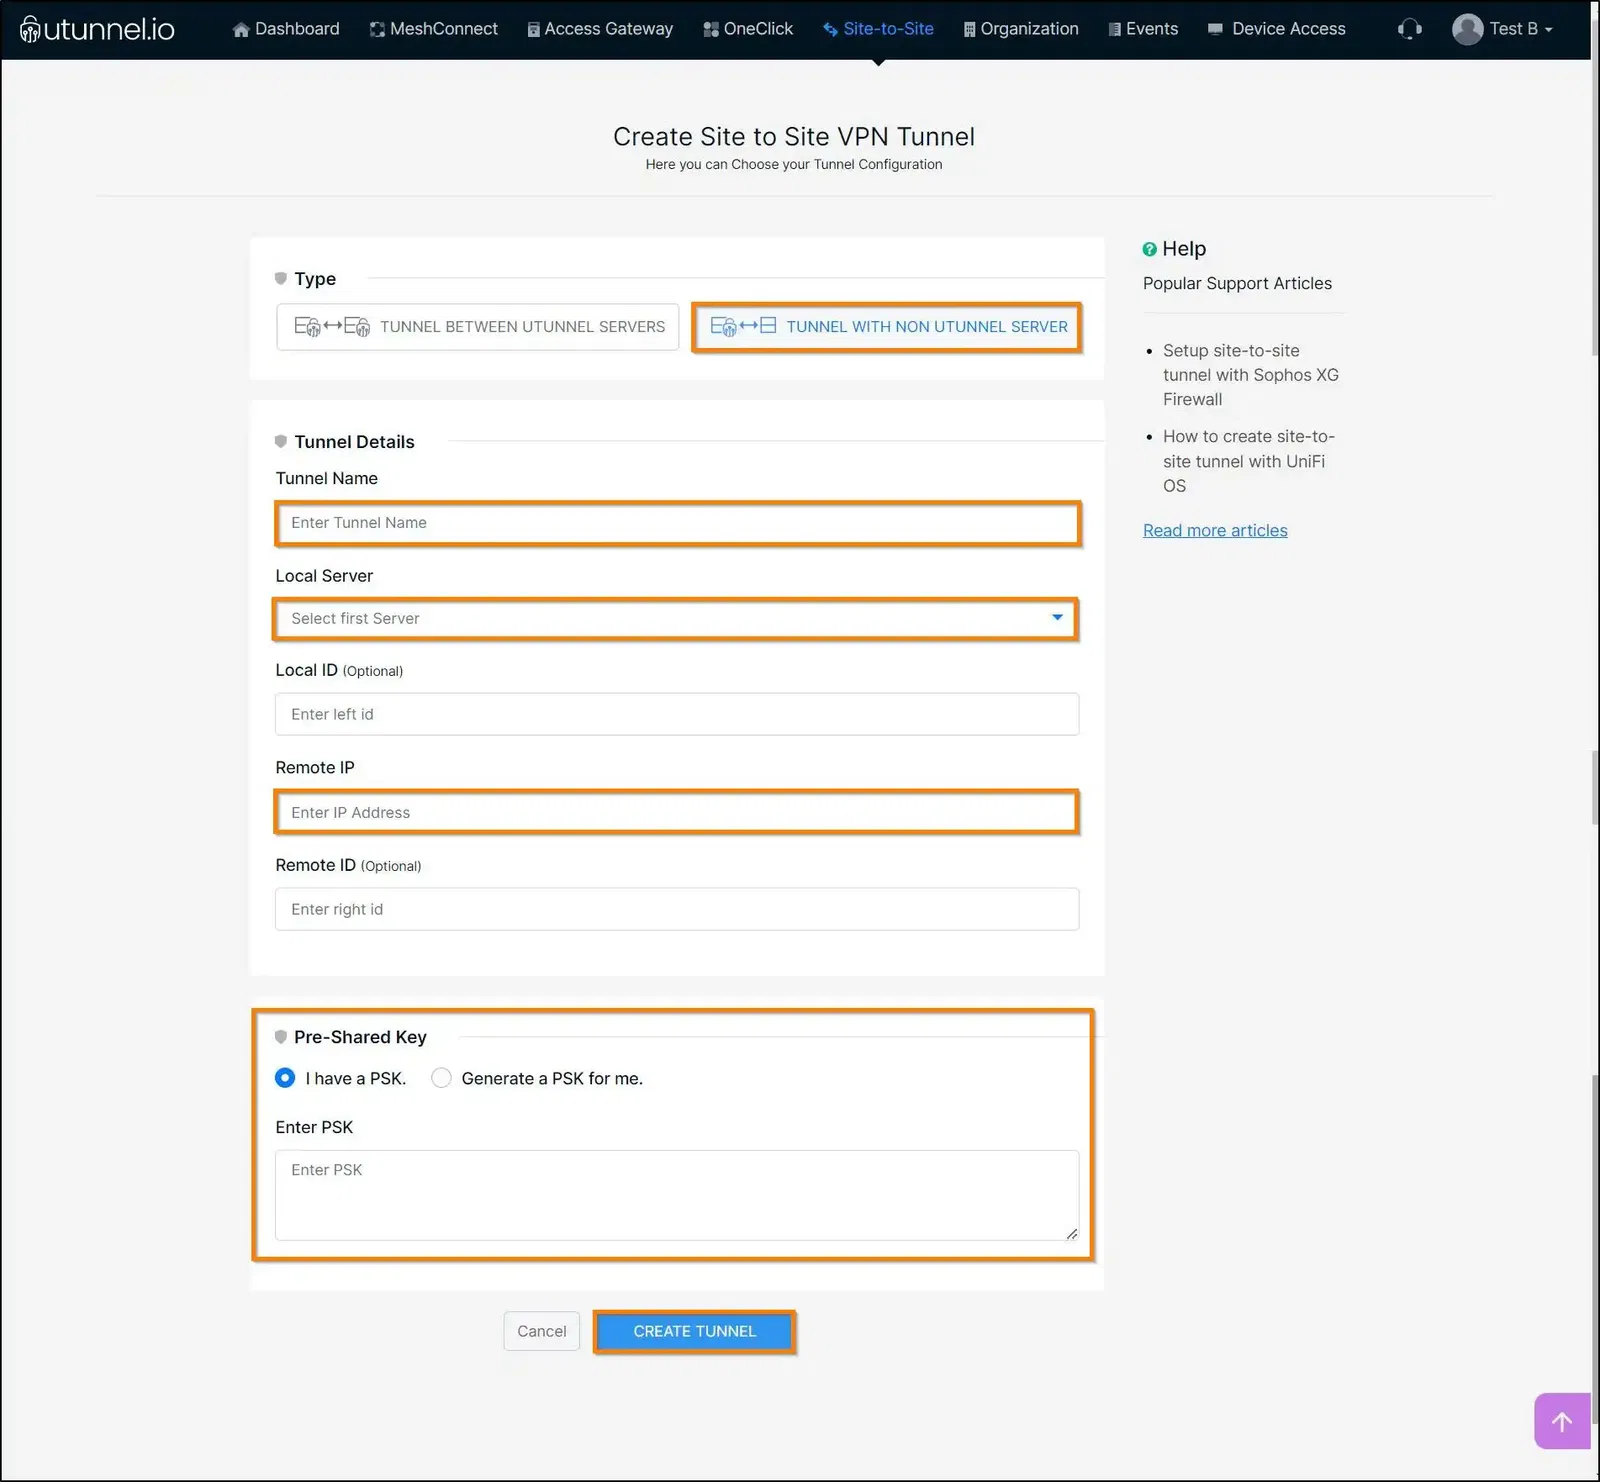
Select Tunnel with non-UTunnel server and key in the Cisco ASA endpoint details as described below.
Tunnel Name: A name for this tunnel.
Local Server: Select the desired UTunnel server from the server list.
Remote IP: Enter the Cisco ASA endpoint IP address.
PSK: Either create a new PSK for the tunnel or enter the one that you have obtained from the remote endpoint.
Click Create Tunnel to create the tunnel.
3. Once the tunnel is created, click on the + icon to define the remote and local networks that should participate in the tunnel.
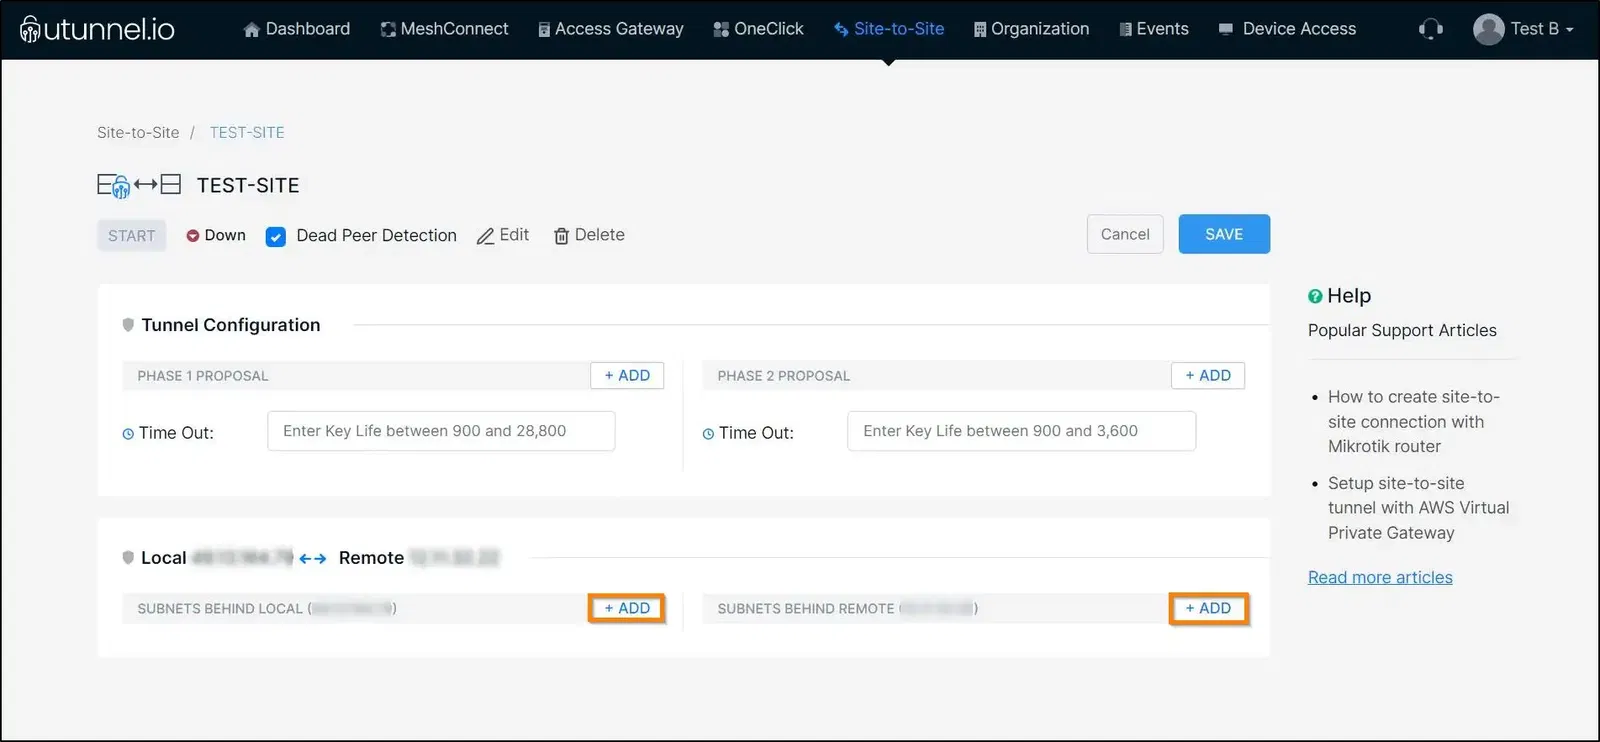
That's it, UTunnel side configuration is completed.
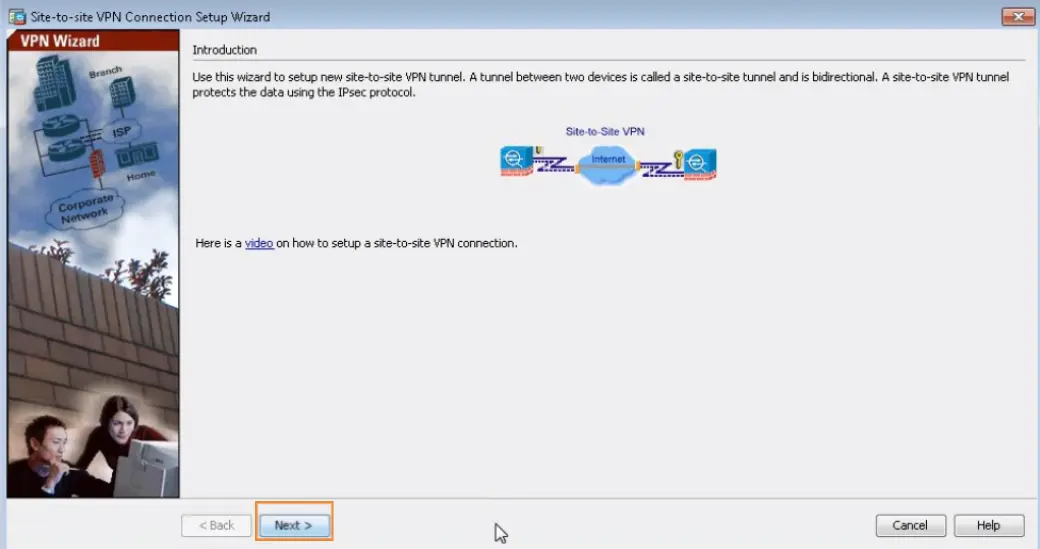
5. Now login to Cisco ASA to complete the remote side configuration.

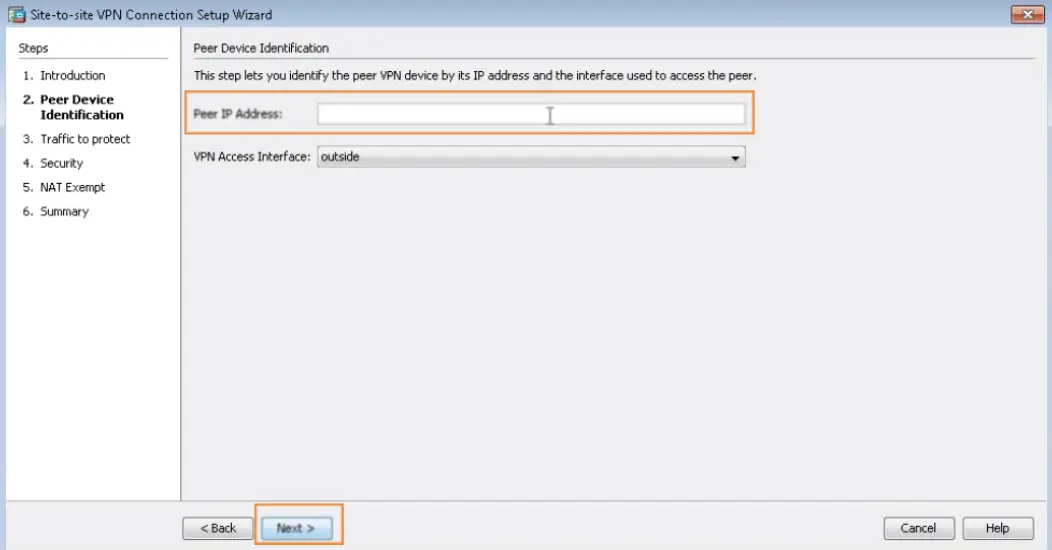
6. Navigate to Wizards > VPN Wizards > Site-to-site VPN Wizard and click Next button.
7. Key in UTunnel server IP address to the Peer IP Address field and click Next.
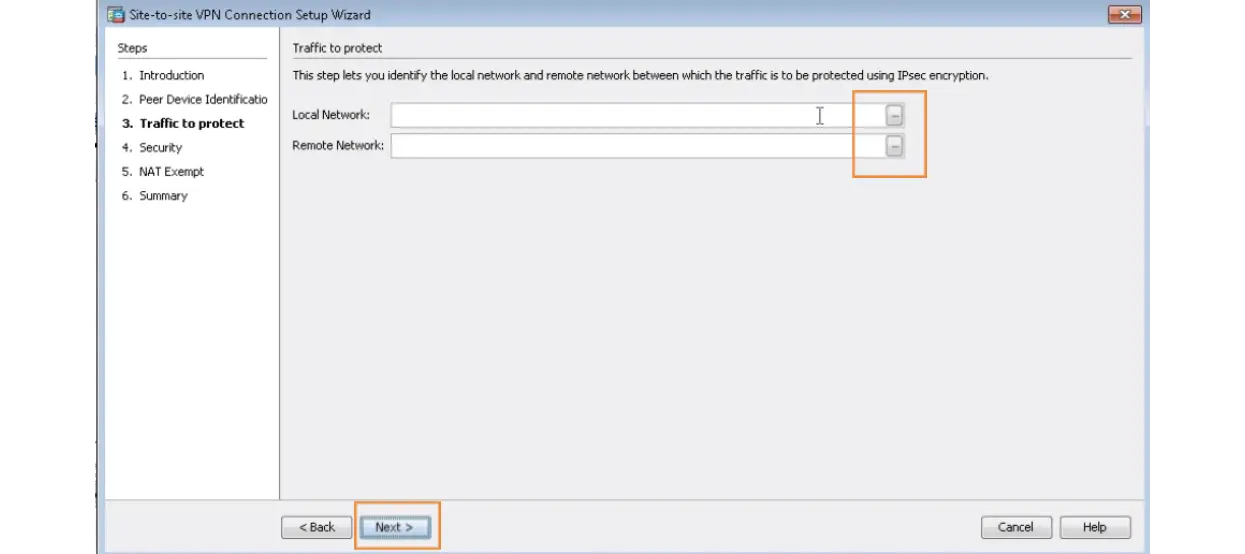
8. Now configure the Local Network and Remote Network. Type in the networks behind Cisco ASA to the Local Network field and networks behind the UTunnel server to the Remote Network field.
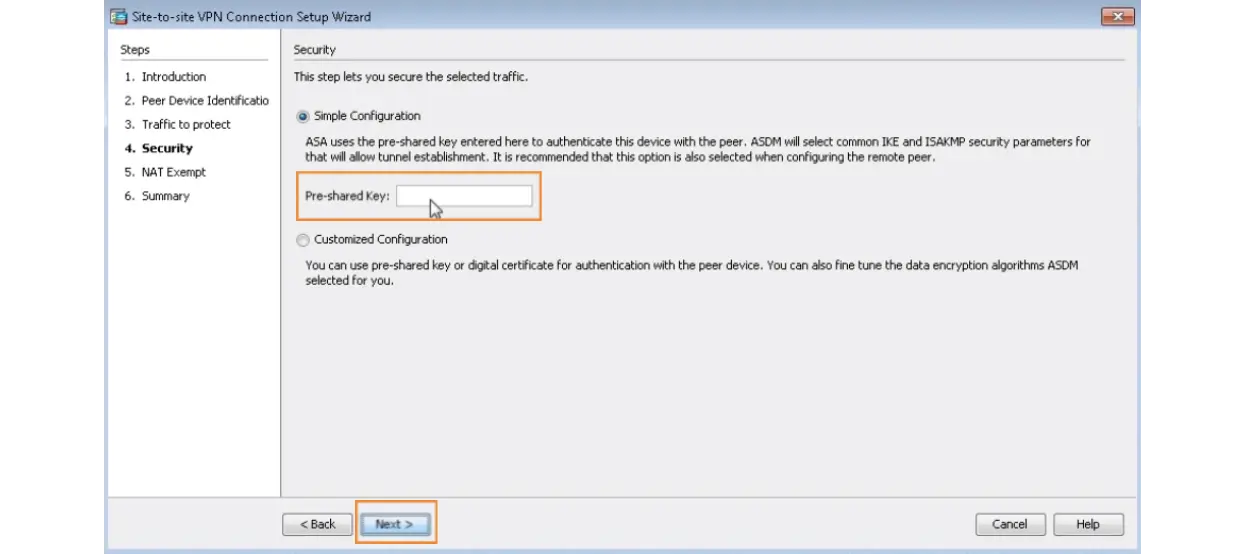
9. Key in the Pre-shared Key and proceed.
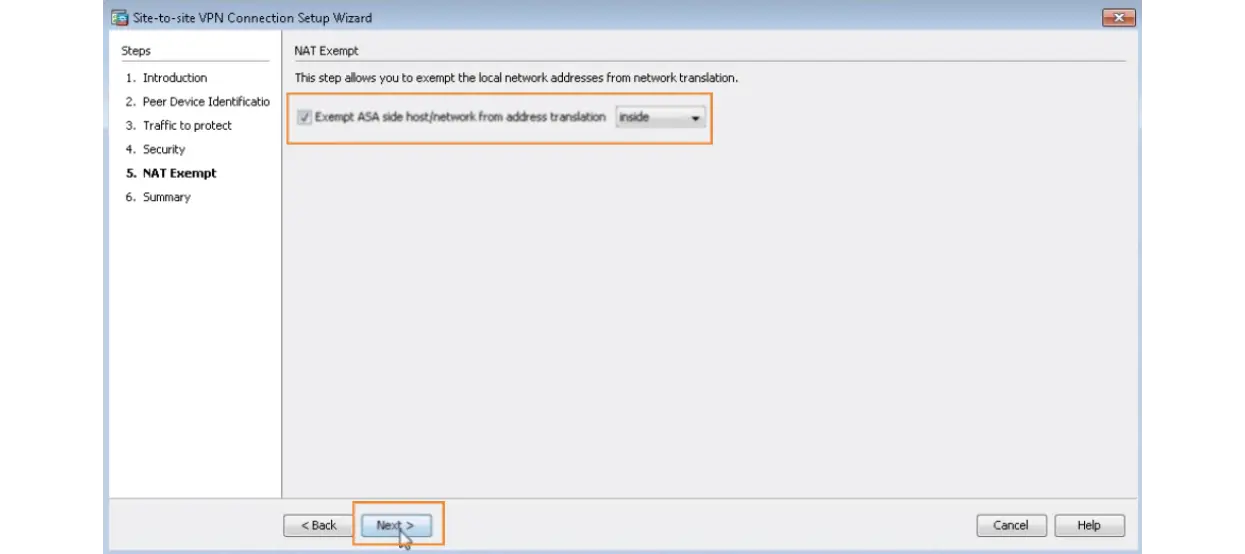
10. Enable NAT Exempt and Click Next.
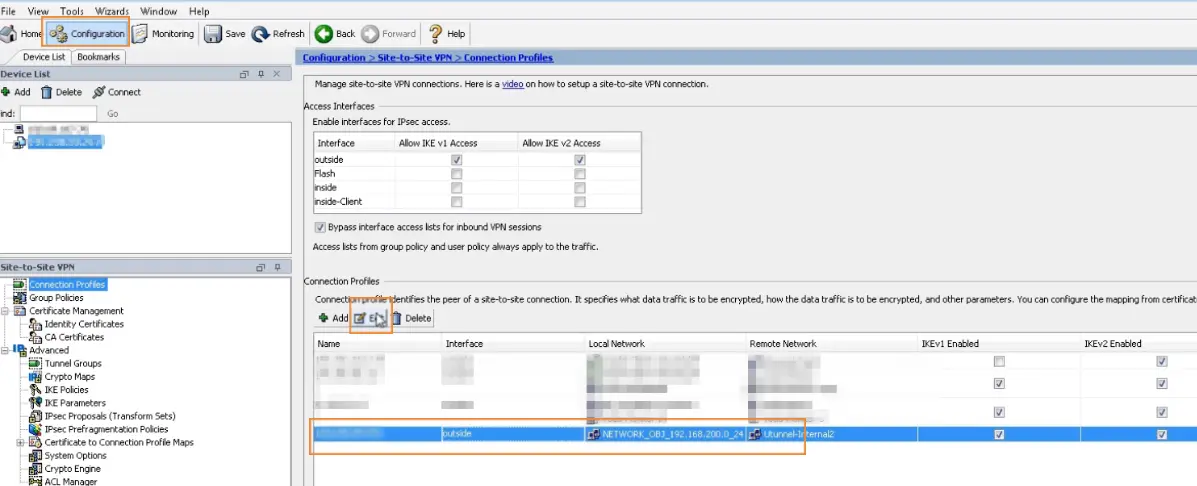
11. Now, you need to setup connection profiles. For that, Navigate to Configuration > Site-to-Site VPN > Connection Profiles. Select the profile available for the tunnel you just created and Click Edit option.
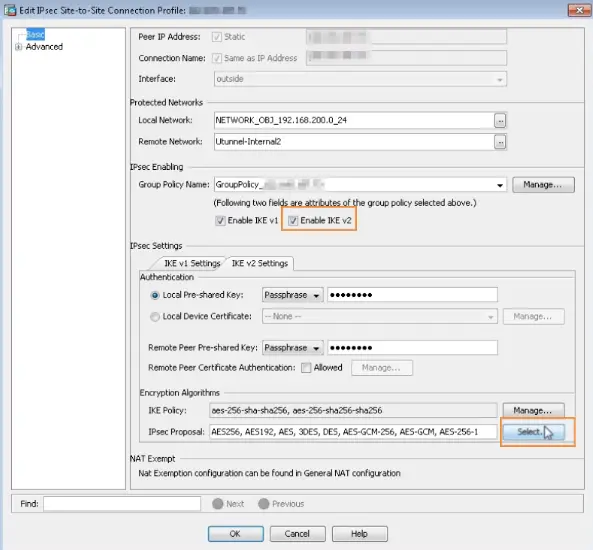
12. Uncheck Enable IKE v1 option under IPsec Enabling section. Keep only Enable IKE v2 enabled. Then click on IPsec Proposal button available for IPsec Proposal option under Encryption Algorithms section.
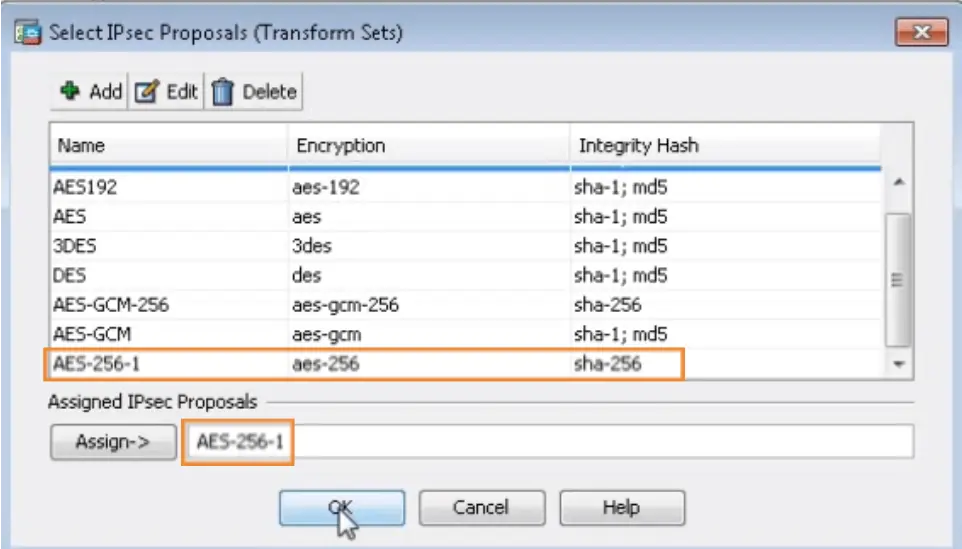
13. Select the proposal AES-256-1 that enforces AES-256 encryption and SHA-256 integrity hash. Click OK then.
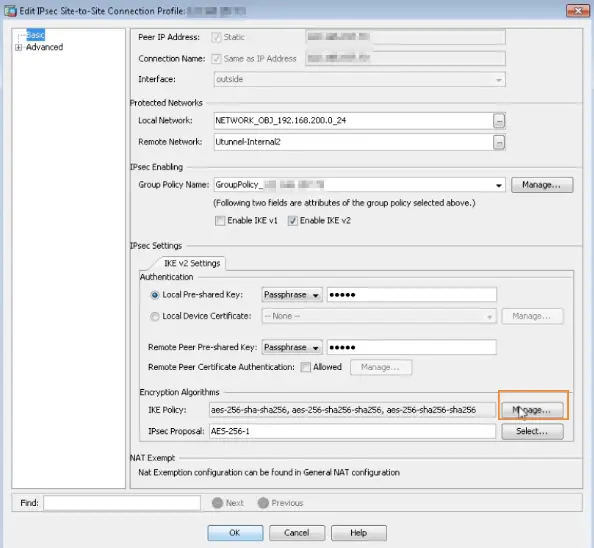
14. Click on Manage option available for IKE Policy under Encryption Algorithms section.
15. Set DH Group to 14 and click OK.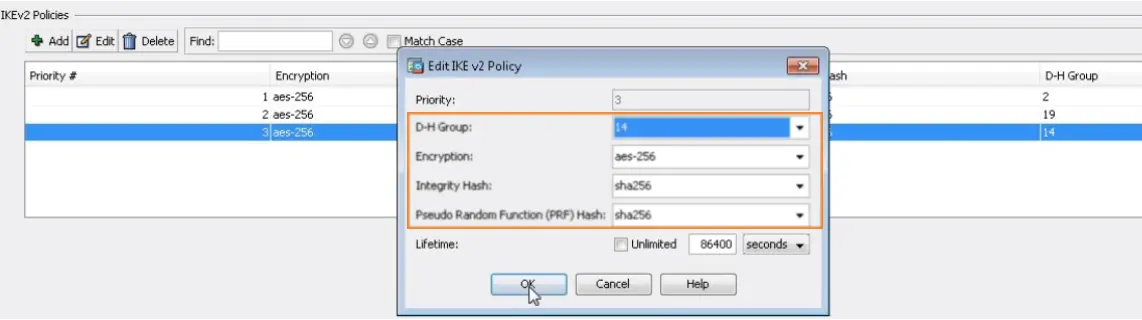
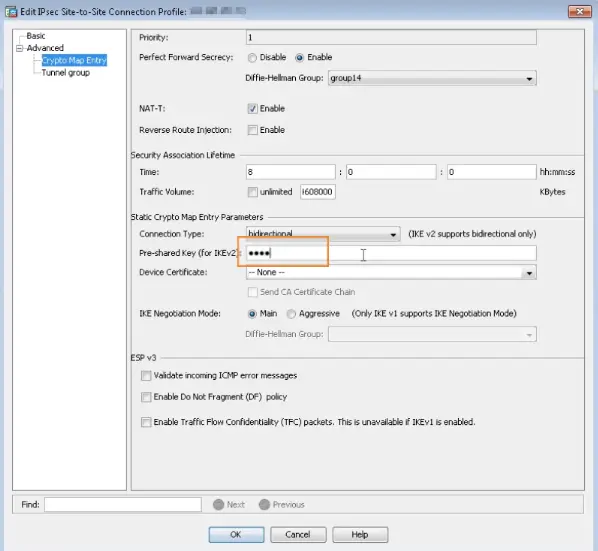
16. Expand the Advanced menu and select Crypto Map Entry. Key in the PSK as show in the below image.
17. Set Idle timeout to Unlimited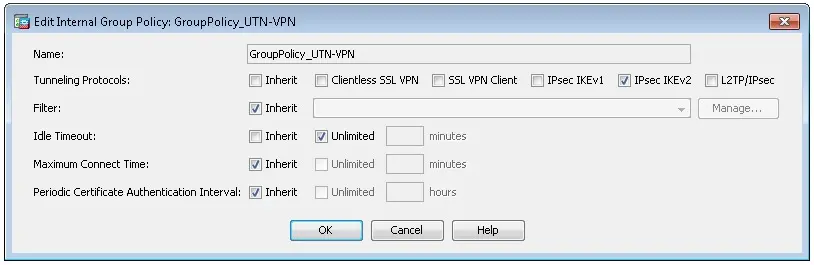
Now go back to the UTunnel dashboard and start the tunnel.